
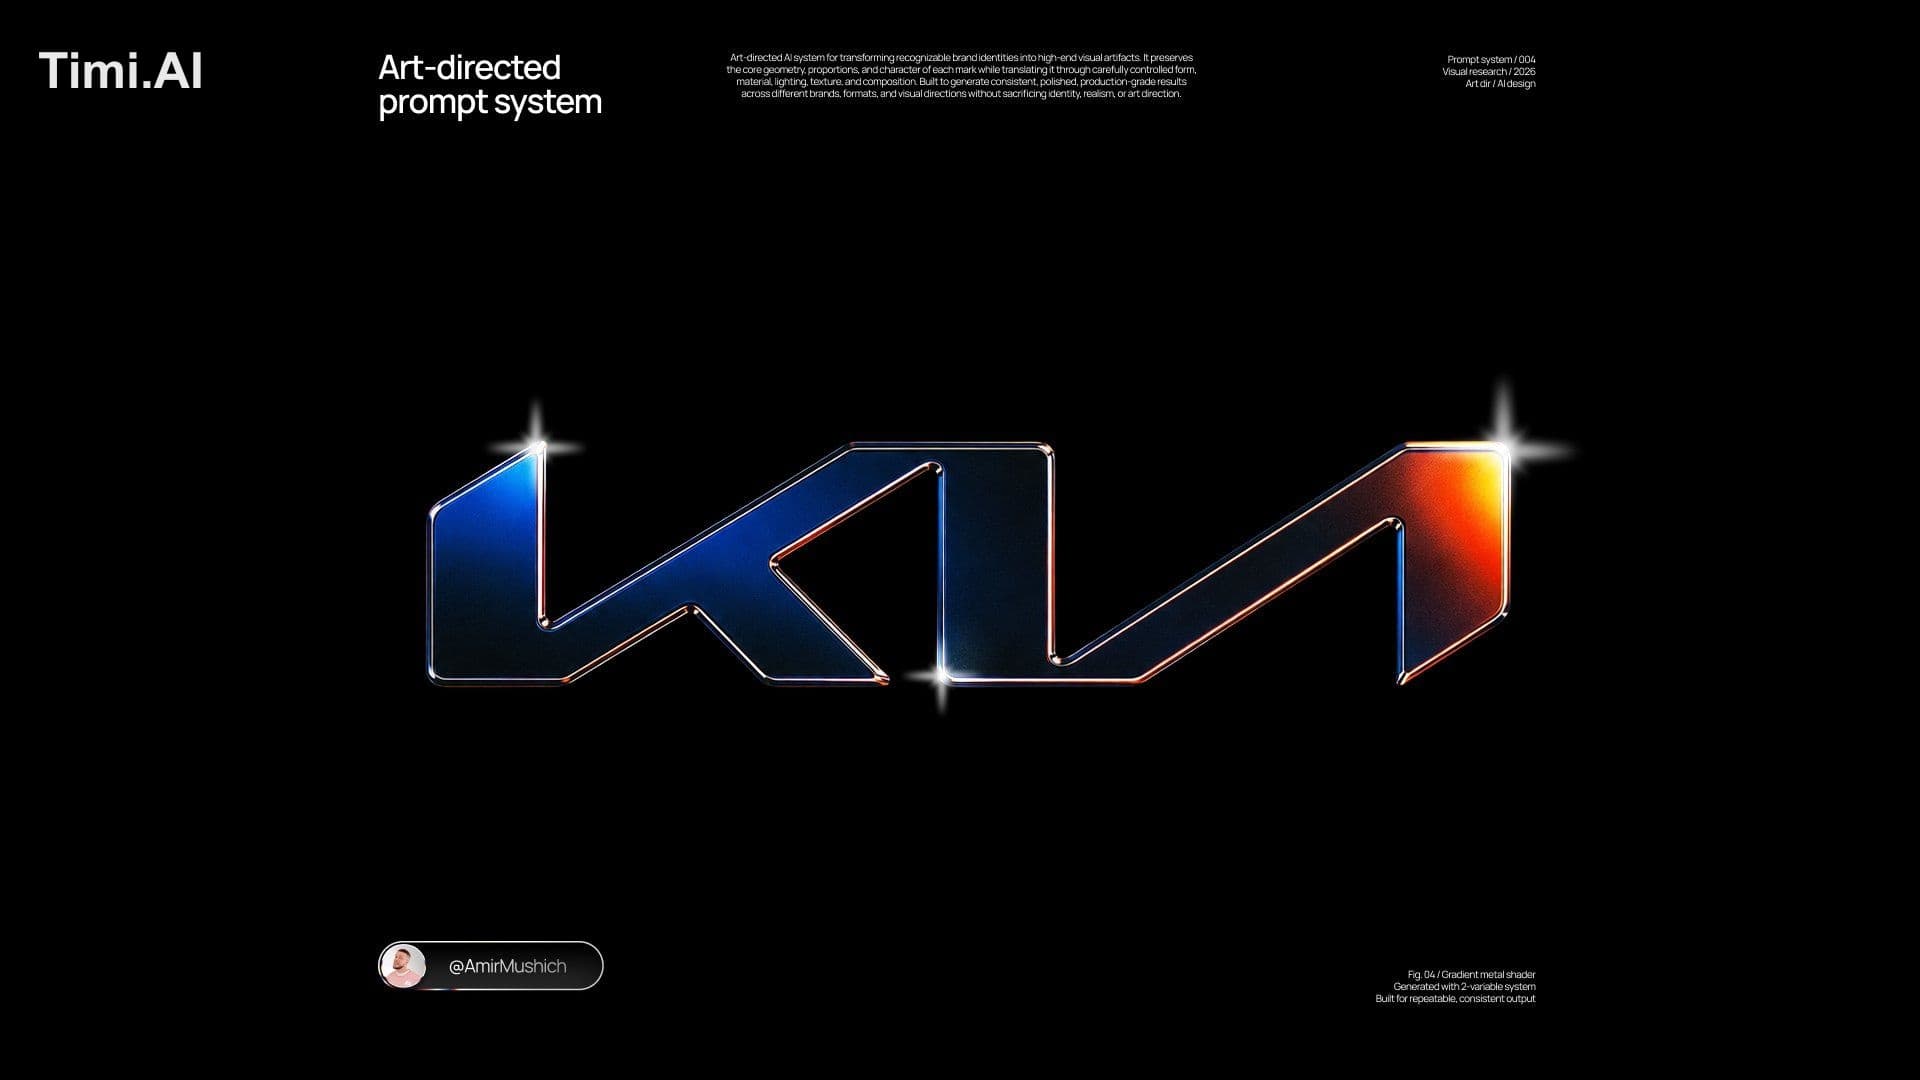
GPT Image 2Brand & Logo
(more pro AI/design workflows: [BRAND NAME = ______________] [BACKGROUND COLOR = _____] …
GPT Image 2 prompt and image example

@AmirMushich
View source post ↗👁 14,694♥ 289★ quality 90
PROMPTTranslation
(more pro AI/design workflows:
[BRAND NAME = ______________]
[BACKGROUND COLOR = _____]
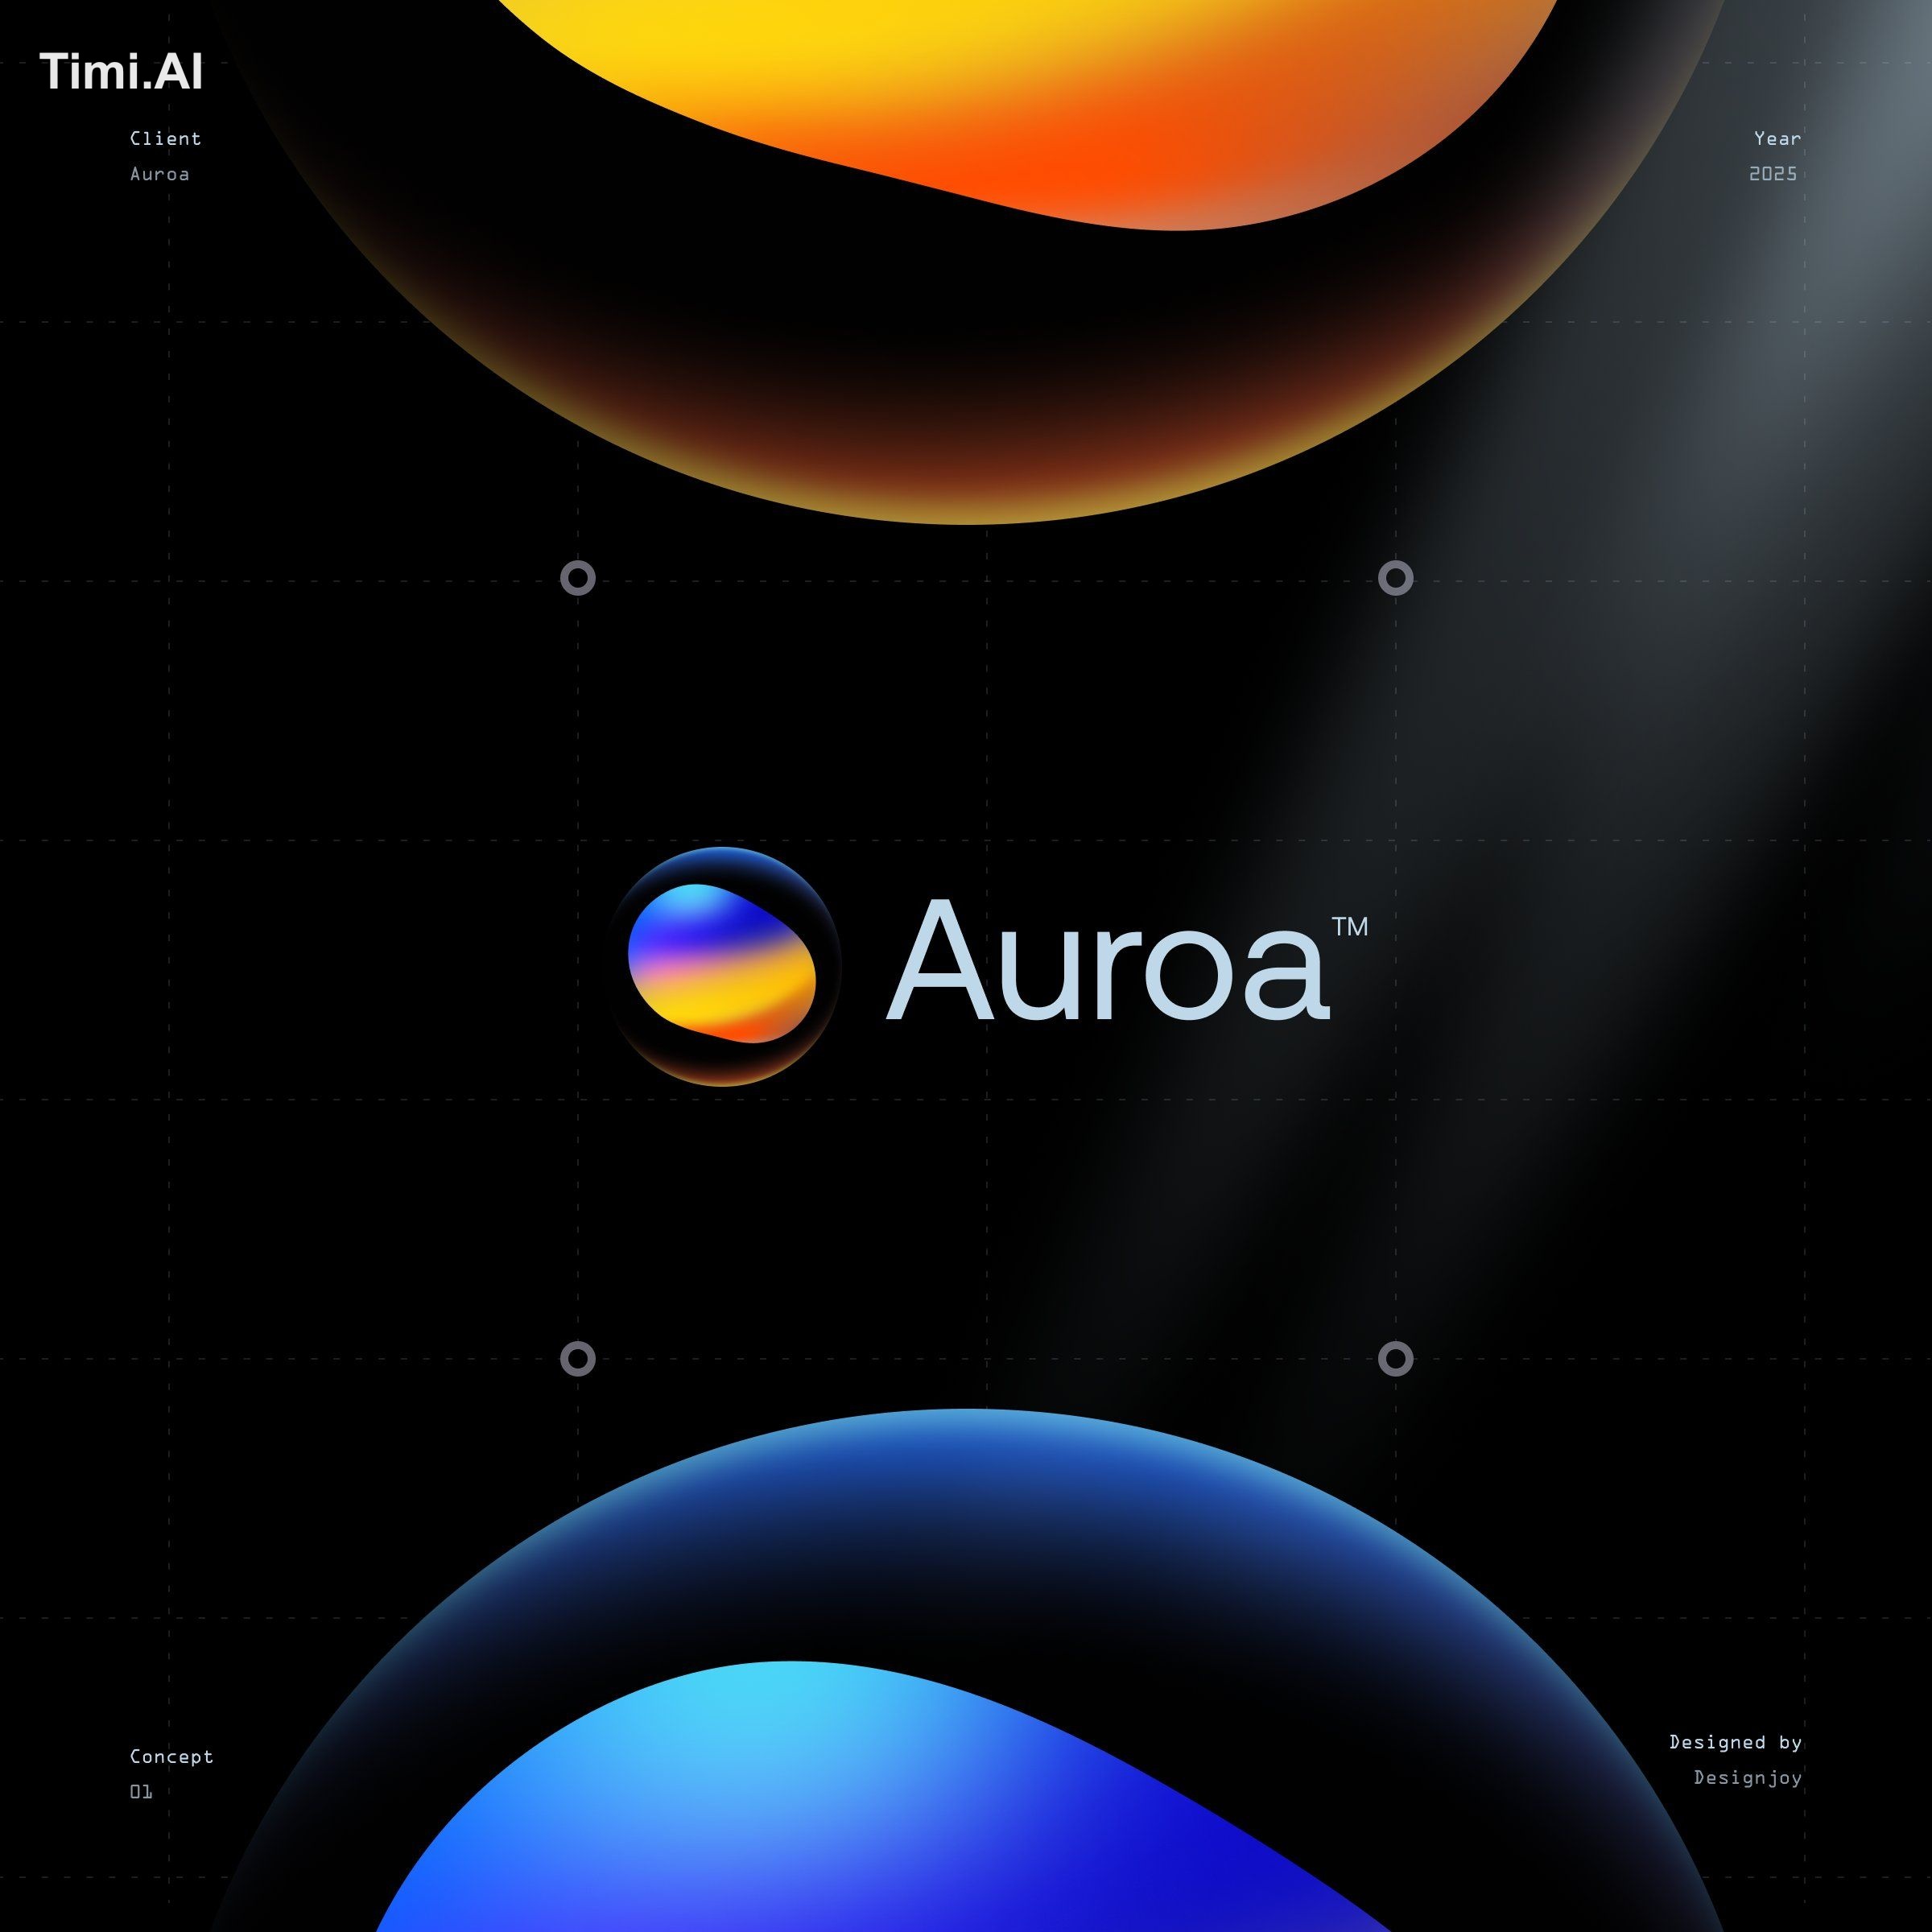
Create a square 1:1 studio CGI visualization of the authentic official logo of [BRAND NAME], translated into a shallow, precisely machined dark-metal emblem with satin blue-black front faces and mirror-polished contour bevels.
Use the brand’s most recognizable official standalone symbol whenever one exists. Preserve the authentic silhouette, canonical proportions, stroke relationships, internal negative spaces, counterforms, component spacing and characteristic curves. Do not redesign, simplify, combine or reinterpret the identity. Use the official wordmark only when the brand has no recognizable standalone symbol.
Ignore the logo’s native colors. Apply the fixed material and lighting system described below.
FORM AND CONSTRUCTION
Construct the logo as a real rigid CNC-machined or precision-cast metal emblem.
Keep the original component structure of the logo. If the official mark contains multiple separated elements, preserve them as separate physical pieces with narrow dark gaps between them. Do not connect them and do not add a backing plate.
Use a shallow badge-like extrusion rather than a thick freestanding sculpture.
Total extrusion depth should equal approximately 8–12% of the average local stroke width of the logo. Keep visible sidewalls narrow so the object remains visually close to a graphic symbol.
The main front surfaces must be broad, clean and almost flat, with only an extremely subtle convex optical curvature allowing large reflections to roll gently across the surface.
Do not inflate, pillow or soften the logo. Preserve straight edges, controlled diagonals and the original geometry.
EDGE ARCHITECTURE
Build a precise two-stage edge system around every exterior contour, interior cutout and negative space.
Create a primary rounded bevel approximately 4–7% of the local stroke width. The bevel should be narrow enough to preserve the graphic silhouette but wide enough to carry visible strip-light reflections.
Add an extremely narrow outer micro-bevel where the polished bevel meets the dark sidewall. This secondary edge should occasionally produce a second hairline reflection.
Convex exterior corners should have restrained mechanical rounding, approximately 1.5–2 times the width of the primary bevel.
Concave interior corners should use slightly larger smooth fillets, approximately 2–3 times the bevel width, creating continuous curled specular reflections around internal transitions.
Blend diagonals, horizontal sections and curved junctions tangentially. Avoid sharp miter spikes, broken bevels, melted transitions or irregular edge widths.
The bevel must follow the real logo geometry continuously. It must not appear as a separately drawn outline.
MATERIAL SYSTEM
Use one coherent blackened-metal material family with controlled roughness variation.
Front faces:
deep blue-black blackened nickel, dark titanium or very dark anodized metal;
smooth satin to semi-gloss finish;
roughness approximately 0.24–0.32;
high specular response;
subtle blue-green undertone;
extremely fine micro-roughness;
no visible brushing, scratches, dirt or coarse texture.
Primary bevels:
exposed mirror-polished nickel or chrome;
roughness approximately 0.02–0.06;
highly reflective;
capable of producing narrow white, blue, cyan, red and orange reflection bands.
Sidewalls:
the same blue-black metal;
darker than the front faces;
semi-polished;
roughness approximately 0.10–0.16;
visually restrained and visible only in narrow localized areas.
The surface should feel dense, smooth, cold and precisely manufactured.
Do not use a rainbow coating, holographic film, iridescent material, colored plastic, transparent glass or emissive surfaces. All blue, cyan, magenta, red and orange coloration must come from physically reflected studio lights rather than painted gradients.
LIGHTING ARCHITECTURE
Build a controlled product-photography lighting environment using large rectangular reflection sources and strong negative fill.
The object-lighting environment and the visible background must be treated independently. Preserve the dark studio reflection system on the metal even when [BACKGROUND COLOR] is bright or white.
Place one large cobalt-blue rectangular softbox above and to the left of the camera, approximately 25–35 degrees off the viewing axis.
This cool source should create:
a broad cobalt, navy and subtle teal reflection across the left and upper portions of the satin front faces;
narrow cyan-blue reflection lines along selected upper, left and interior bevels;
soft blue tonal information inside otherwise near-black surfaces.
Place one large amber-orange rectangular softbox above and to the right of the camera, approximately 35–45 degrees off the viewing axis.
This warm source should create:
a broad amber, orange and red reflection wedge across selected right-hand portions of the front faces;
hot orange-to-white reflections along right-facing and diagonal polished bevels;
small restrained red and magenta transitions where the warm and cool reflections overlap.
Add one narrow neutral-white strip light high on the right side. Position it so it appears only as a sharp, locally clipped white pinline on selected polished bevels.
Keep frontal fill extremely restrained. Use black flags and negative fill so the central parts of the logo remain deep blue-black rather than evenly illuminated.
Do not allow the visible background to flatten the material through excessive ambient fill.
REFLECTION BEHAVIOR
Treat reflections as a structural part of the object.
On the satin front faces, reflections should be broad and softly bounded, occupying approximately 15–35% of the relevant surface.
On the polished bevels, the same sources should compress into narrow high-intensity bands approximately 1–3% of the local stroke width.
Allow some polished edges to become nearly white, while other contours remain blue, red or almost completely black according to their physical orientation.
Do not create a continuous uniform illuminated outline around the logo.
Reflection lines must change width, intensity and color naturally as the bevel rotates through space.
Create especially strong curved reflections around concave internal fillets and smooth diagonal-to-horizontal transitions.
Use physically plausible Fresnel response, ray-traced reflections, restrained ambient occlusion inside cutouts and deep shadow separation between disconnected logo components.
Do not paint a blue-orange gradient directly onto the object.
FLOATING BEHAVIOR AND SHADOW CONTROL
The complete 3D emblem must visibly float in open space, parallel to the image plane.
It must not rest on, touch, lean against or appear mounted onto the background.
Maintain a clear visual separation between the object and the backdrop without using a floor, pedestal, support, wire, mounting hardware or visible attachment.
For white, off-white, pale gray, pastel or otherwise light [BACKGROUND COLOR] values:
— create absolutely no cast shadow on the background;
— no contact shadow;
— no drop shadow;
— no shadow halo;
— no gray grounding patch;
— no ambient-occlusion stain behind the object;
— no dark edge contamination caused by the background;
— no suggestion that the object is lying on a surface.
The background behind and around the logo must remain clean and evenly colored.
The floating effect must be communicated through the object’s shallow sidewalls, controlled lighting, internal shading and isolated silhouette—not through a projected shadow.
For dark backgrounds, an extremely subtle tonal separation may appear immediately around the silhouette, but it must not read as a directional cast shadow or contact shadow.
BACKGROUND AND COMPOSITION
Use [BACKGROUND COLOR] as the actual visible color of a seamless studio background.
When [BACKGROUND COLOR] is white or another bright color, preserve i
Turn this look into your image
#logo#brand identity#CGI#metallic#3D emblem#dark metal#automotive logo#Kia
Related prompts
✨ View prompt♥ 6
✨ View prompt♥ 2

✨ View prompt♥ 3203
![Create ONE final image.
A clean 3×3 [ratio] storyboard gri](https://pub-c63007d390234d64a94ea33acc7ed30e.r2.dev/nano-banana/uMwpNCHkUsaxCppS9DDpW.jpg)
✨ View prompt♥ 5072
✨ View prompt♥ 539
✨ View prompt♥ 1756
![3D embossed glossy contour render of center-aligned [BRAND]](https://pub-c63007d390234d64a94ea33acc7ed30e.r2.dev/nano-banana/Zgt0xjTLx8ruLMYh.jpg)
✨ View prompt♥ 1759
✨ View prompt♥ 1495
![Based on [TOPIC], create a high-quality vertical “encycloped](https://pub-c63007d390234d64a94ea33acc7ed30e.r2.dev/gpt-image/g8oNrgm6ullAm93G.jpg)
✨ View prompt♥ 1589
![[INPUT IMAGE: USER_PHOTO] Use the person in the input image](https://pub-c63007d390234d64a94ea33acc7ed30e.r2.dev/gpt-image/_tgH3w8ykw-6TjttdRI0r.jpg)
✨ View prompt♥ 894

✨ View prompt♥ 435
✨ View prompt♥ 608